A complete guide to arriving in Madagascar. Learn about visa procedures, currency exchange, best way to rent a car for your trip.
Table of Contents


Main Journey
Leaving Seychelles and Flying to Madagascar
After spending the night at Seychelles International Airport, we boarded our morning flight to Madagascar.
Sleeping in an airport transit area is never ideal, but surprisingly, we managed to get a deep sleep. Still, our bodies felt the unfamiliarity of the space, and we woke up early as the first light of dawn appeared in the distance.
At around 7 AM, an Air Seychelles staff member approached us in the waiting area. They needed additional documents to issue our boarding passes. The required documents were the same as in other countries:
- Proof of onward travel from Madagascar
- South Africa entry documents (including a birth certificate for Sweetie)
- Proof of our South Africa departure (a car rental return confirmation in Namibia)
Once the documents were verified, the staff took them for photocopying and returned shortly after with our tickets.
We had a quick breakfast at a café and, with about an hour left before boarding, explored the small duty-free section inside the transit area.
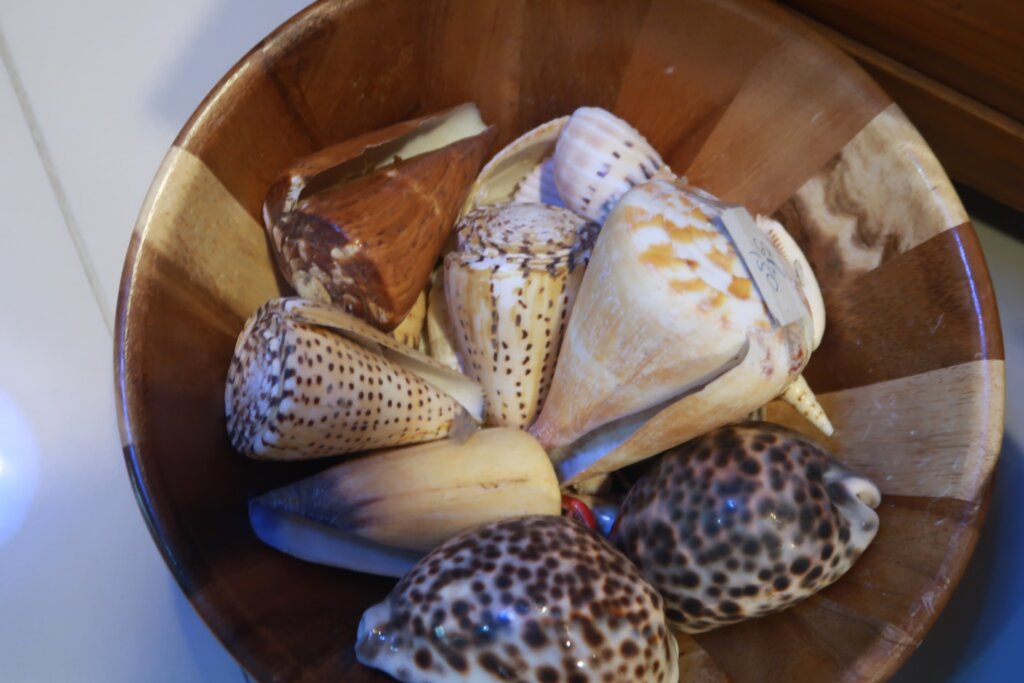
Seychelles had always been on our travel list, but due to this short layover, it felt like a missed opportunity. Looking at souvenirs, especially the famous Seychelles nut-shaped magnets, made us promise to return one day.
Boarding the Flight
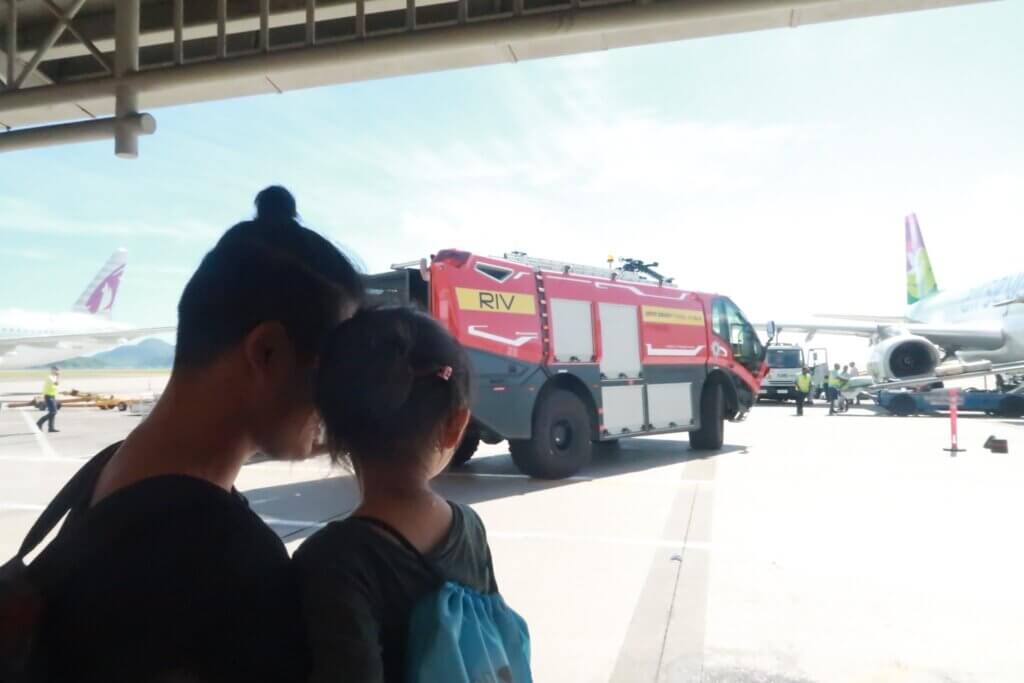
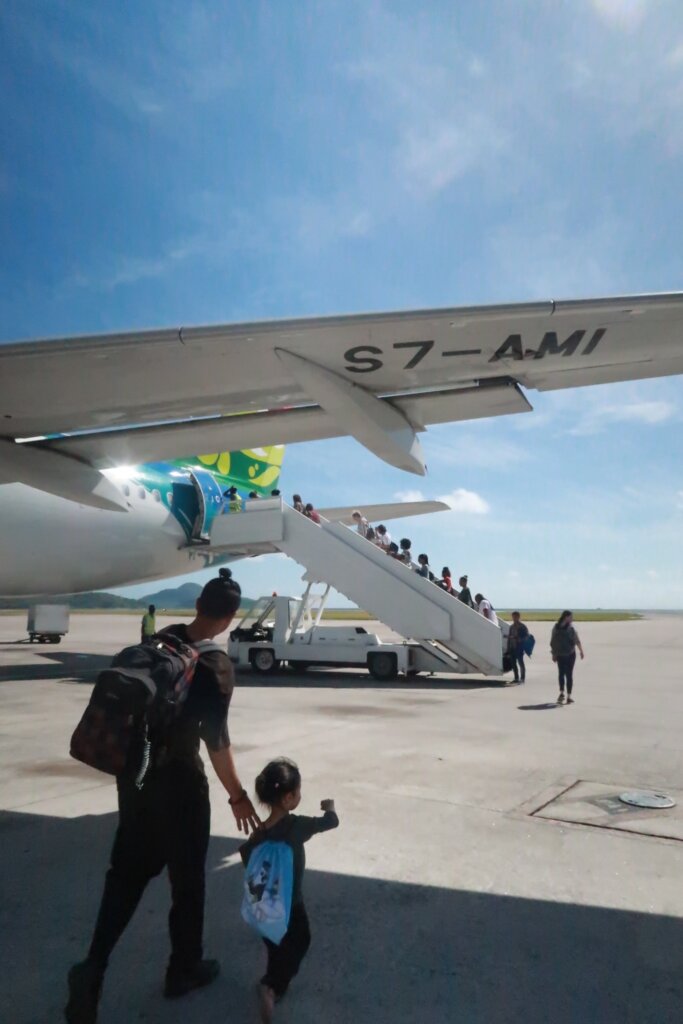
Seychelles Airport was small, and there was no jet bridge. As we walked toward the aircraft, Sweetie got excited again, especially when she saw an ambulance passing by.
She insisted on walking alone, so we held her back to keep her from getting too close to the plane’s engine.
Climbing the stairs to the aircraft, we finally had a full view of Seychelles—something we missed while stuck inside the airport.
As soon as we took our seats, exhaustion from the overnight airport stay caught up with us, and we all fell into a deep sleep even before takeoff.
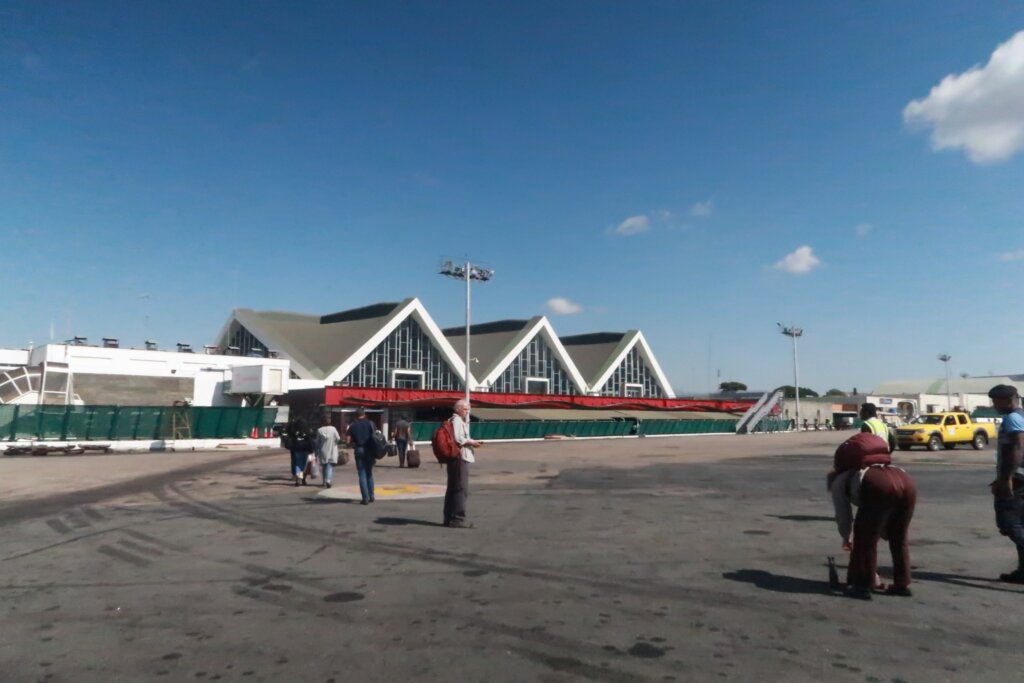
After about two and a half hours in the air, we landed in Madagascar’s capital, Antananarivo.
Events
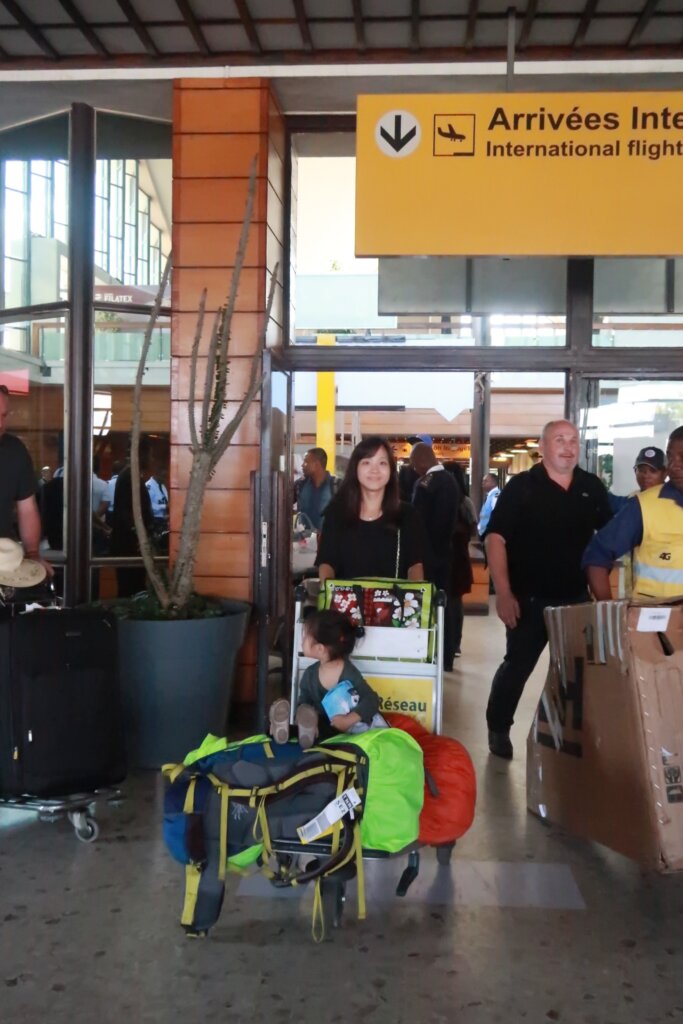
Arriving in Madagascar: Immigration and Visa Process
Sweetie was fully recharged after sleeping through the flight. The moment we landed, she grabbed her small backpack and ran ahead enthusiastically. Julie followed closely, acting like a bodyguard.
The arrival process went smoothly, following these steps:
- Health check
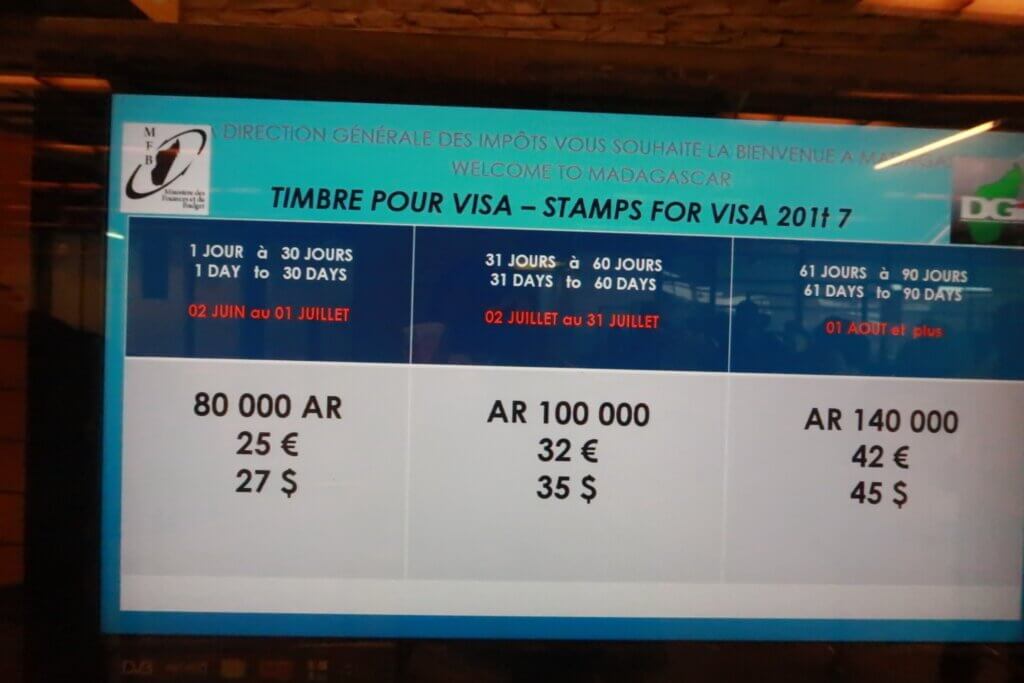
- Visa on arrival purchase
- Immigration clearance
A 30-day tourist visa cost $27 per person, and surprisingly, Sweetie was not exempt. We paid $81 in total, and the visa was issued immediately. Payments could be made by credit card, which was convenient.
Madagascar’s immigration process was unusual compared to other countries. One passport passed through six different officers, each handling a different task—one checked the photo, another stamped the visa, another wrote the date, and so on. It was amusing but not a problem.
With no issues, we officially entered Madagascar.
Currency Exchange and Buying a SIM Card
The first thing we needed to do was exchange money to buy a SIM card.
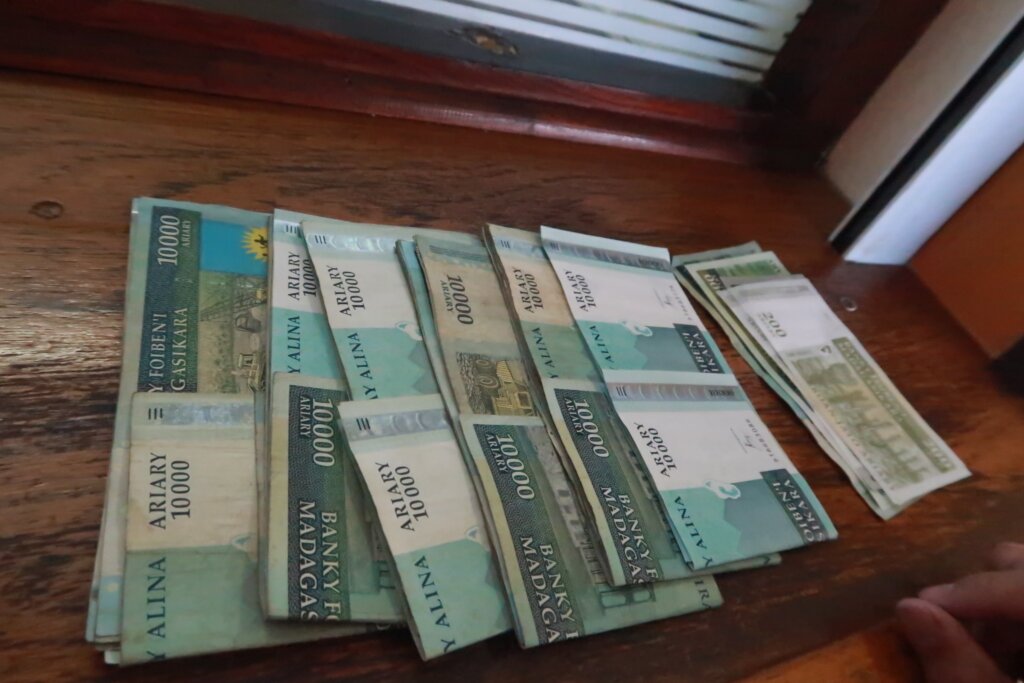
There were multiple exchange booths at the airport, so we quickly compared rates and went with the best offer: 1 USD = 3,110 Ariary.
Holding stacks of 10,000 Ariary bills felt satisfying, even if the value wasn’t high.
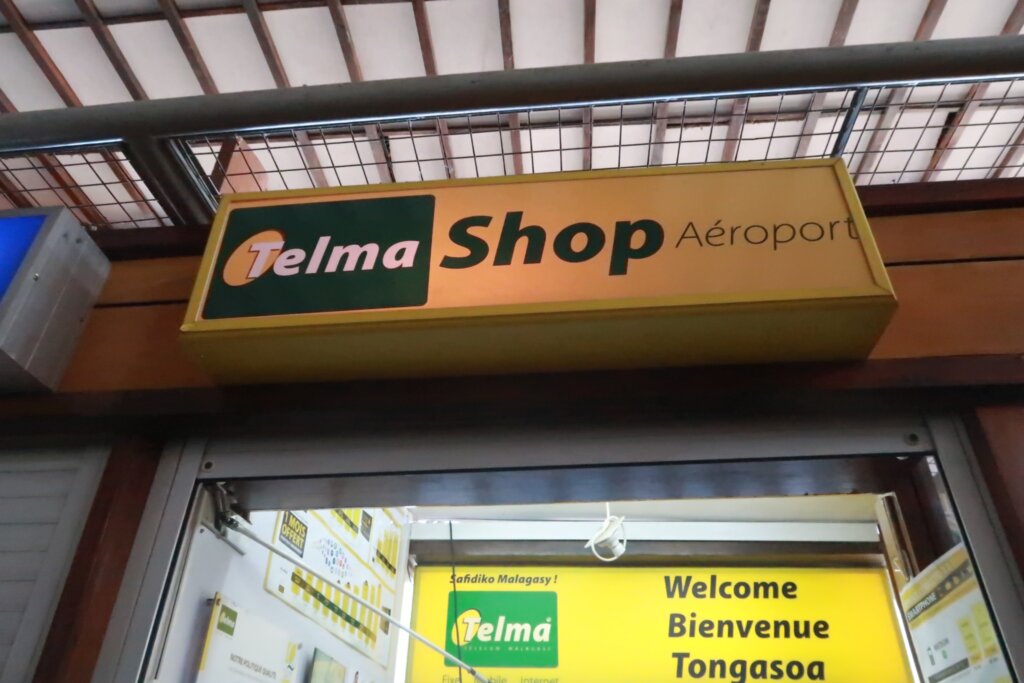
We then purchased a data SIM card from Telma, Madagascar’s leading telecom provider.
- 1GB of data cost 25,000 Ariary
- The SIM card itself cost 1,000 Ariary
- Total cost: 26,000 Ariary (~$9.20 USD)
The staff recommended the 3GB plan for 50,000 Ariary, but since it was only 3G speed, we figured 1GB would be enough for our needs.
Meeting Our Rental Car Driver
As we exited the airport, we saw people holding signs, one of which had our names: COCOBONG FAMILY.
Waiting for us were a representative from the car rental company and our driver for the next eight days.
Our plan was to stay one night in Antananarivo (commonly called “Tana”) and then begin an eight-day road trip. The rental company offered a free airport pickup, which made our arrival incredibly smooth.
Before heading to our hotel, we reviewed the contract and paid for the rental.
Our rental package included:
- Eight days with a dedicated driver following our pre-planned route
- An English-speaking guide
- Driver’s food and accommodation covered
- Exclusions: fuel and entrance fees
The total cost was 450 EUR ($503 USD / 561,549 KRW).
- Standard rates were 55 EUR per day for city trips and 60 EUR per day for intercity travel, but we negotiated a 30 EUR discount for the entire trip.
Considering the alternatives, this was the best decision. Domestic flights between Tana and Morondava were expensive, and taking a crowded taxi-brousse with Sweetie was not an option. We made the final decision in Mauritius and booked via email at the last minute.
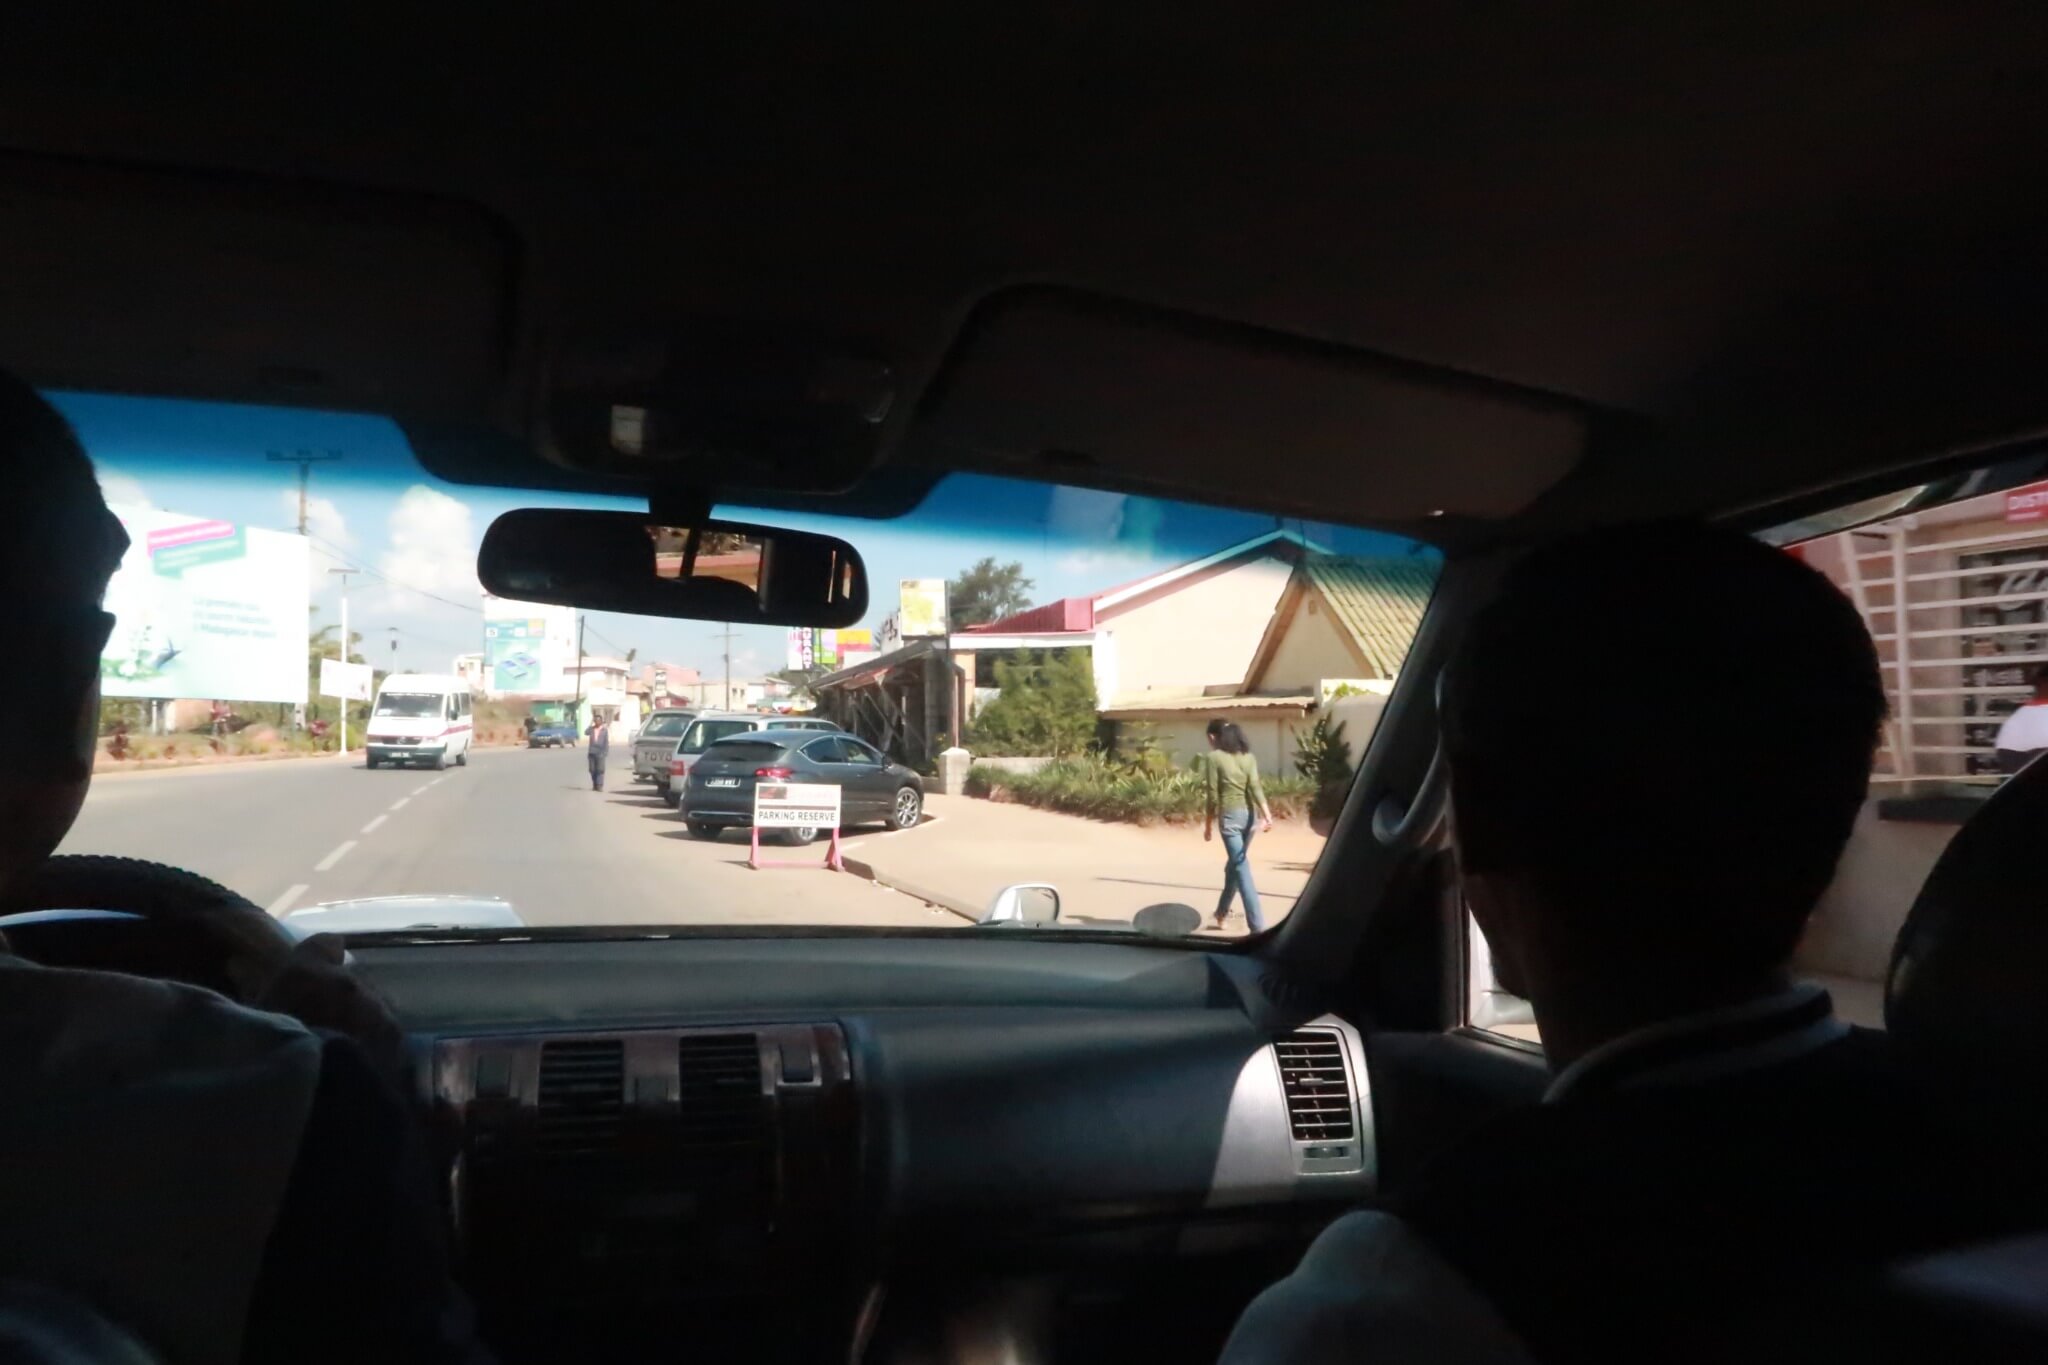
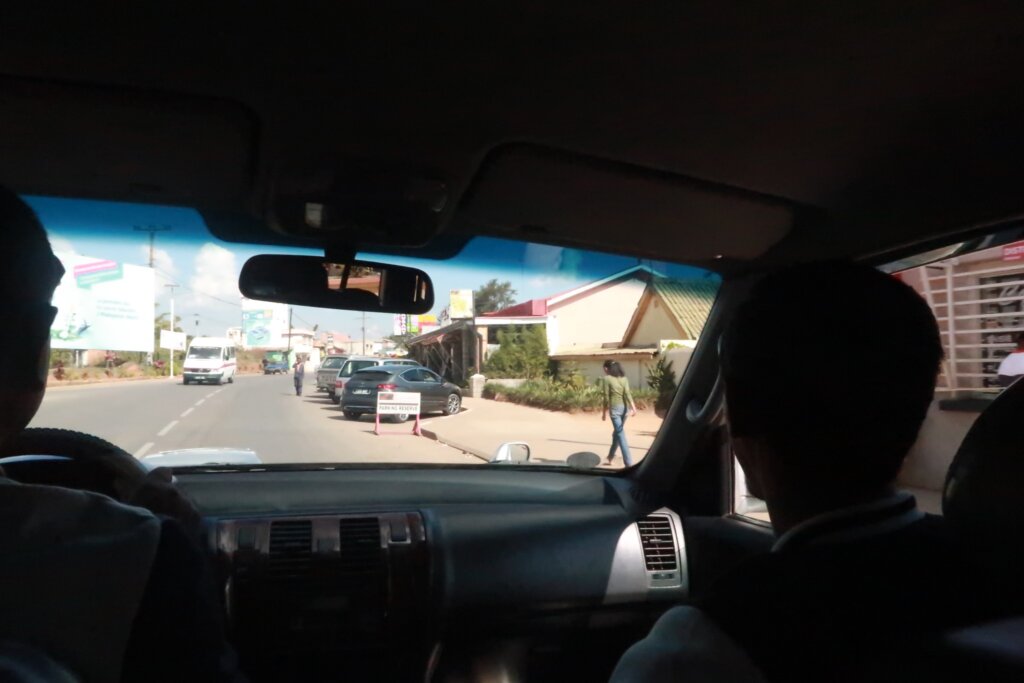
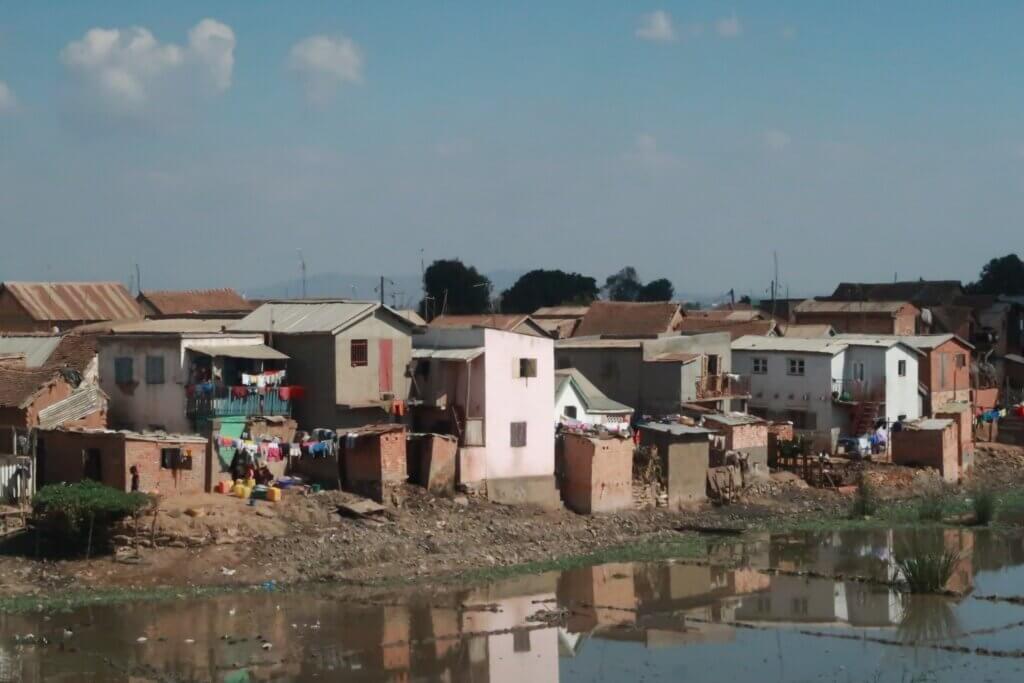
Driving into the City
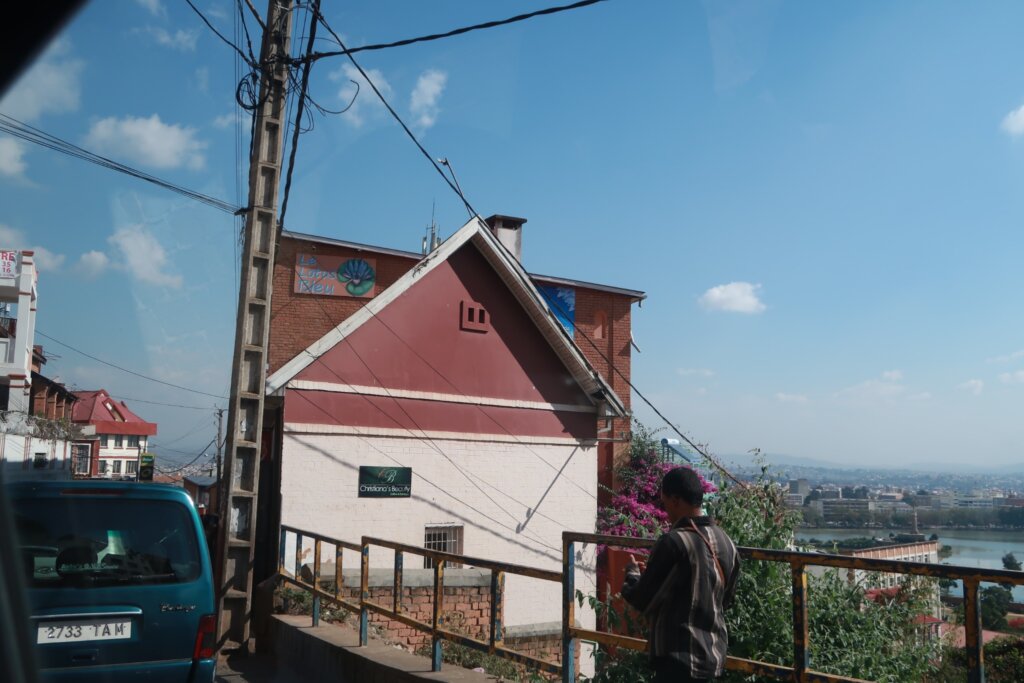
Our hotel was located in downtown Tana, about an hour’s drive from the airport. The free pickup service turned out to be an incredible bonus, saving us from navigating public transport or negotiating with local taxis.
On the way, we saw taxi-brousse vans, the cheapest way to travel between cities in Madagascar. These vans were packed to their absolute limit, with people squeezed inside and luggage strapped to the roof.
Through the rear window of one taxi-brousse, we could see a passenger’s hunched-over back, barely fitting into the overcrowded space. It looked uncomfortable, but it was an essential mode of transport for many locals.
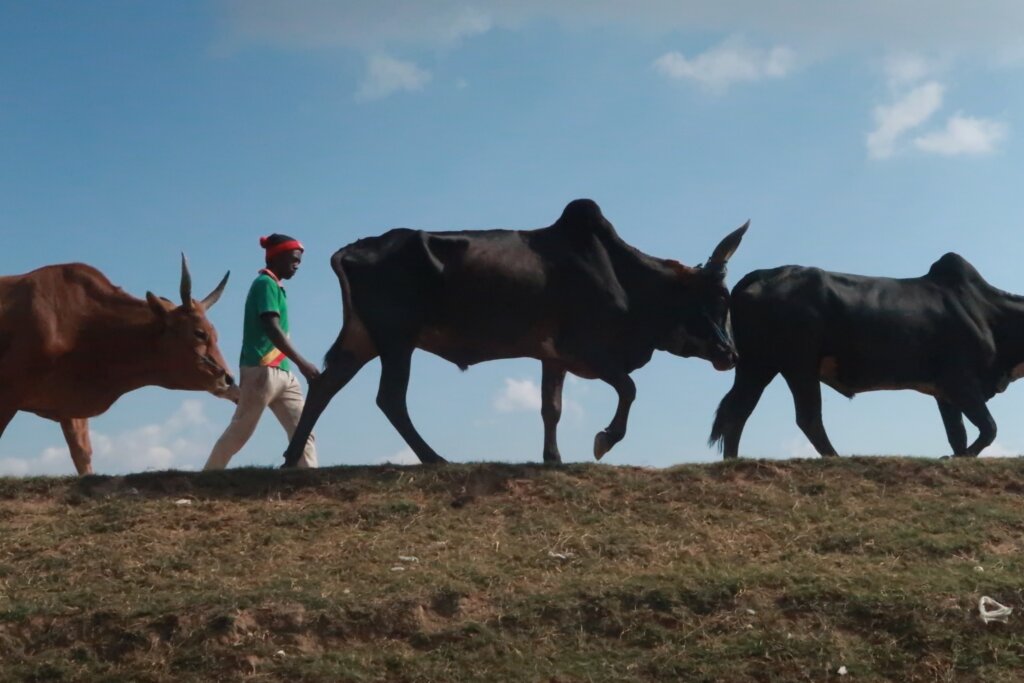
As we neared the city, we also spotted Zebu cattle, a common sight in Madagascar. These humped-back cows were used for both work and food.
Finally, our hotel appeared in the distance. We arranged to meet our driver at 5:30 AM the next morning to start our journey.
After days of constant travel, it felt great to arrive at a place we could call home for the night.


Tips for Traveling with a Baby
Plan for Airport Layovers
If a layover requires an overnight stay, check the airport’s facilities in advance. Some have affordable lounges, while others may only offer basic waiting areas.
Prepare for Long Immigration Processes
In some countries, immigration procedures can take longer than expected. Keeping a baby entertained with snacks or small toys can help pass the time.
Use a Private Driver for Road Trips
Madagascar’s roads can be challenging, and public transport is often overcrowded. Hiring a driver provides flexibility and comfort, especially when traveling with a baby.


Local Travel Tips
Compare Exchange Rates at the Airport
Rates can vary between different exchange booths. Take a quick look around before exchanging money.
Choose the Right SIM Card Plan
Internet speeds in Madagascar are slow. Unless you need a large amount of data, a smaller plan may be sufficient.
Consider Private Transport for Intercity Travel
While taxi-brousse vans are cheap, they are uncomfortable for long journeys. Renting a car with a driver can be a much better option.
Travel Reflections
Arriving in Madagascar felt like stepping into a new world.
From navigating immigration to exchanging money and finding a SIM card, the arrival process went smoothly. The free airport pickup from our rental company was an unexpected bonus, making the transition much easier.
Seeing the reality of public transport made us realize how different our journey could have been. The crowded taxi-brousse was a stark contrast to the comfort of a private vehicle.
As we unpacked in our hotel room, it finally hit us—we were in Madagascar. The adventure was just beginning.


Leave a Reply